Zalo OA Setup Account
Zalo OA Setup Account
Before you can using Zalo OA Chat in SotaERP, You need to create an OA account.Go to https://oa.zalo.me/home and signup OA account.You need to upload document to verify OA account
Zalo Application
Once you have verified OA account, you need to create an application
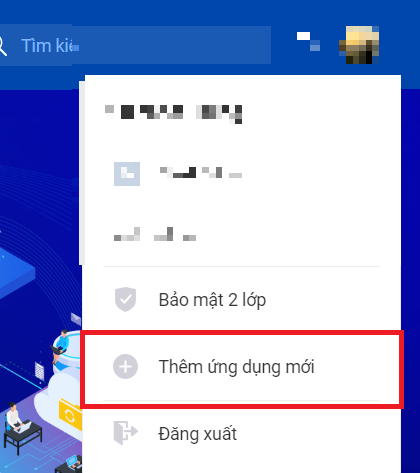
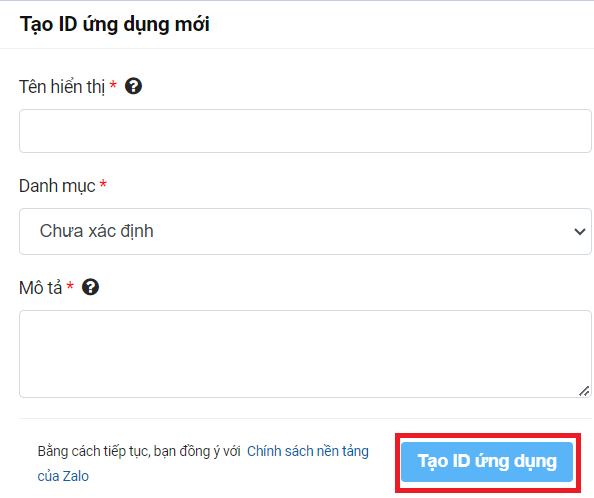
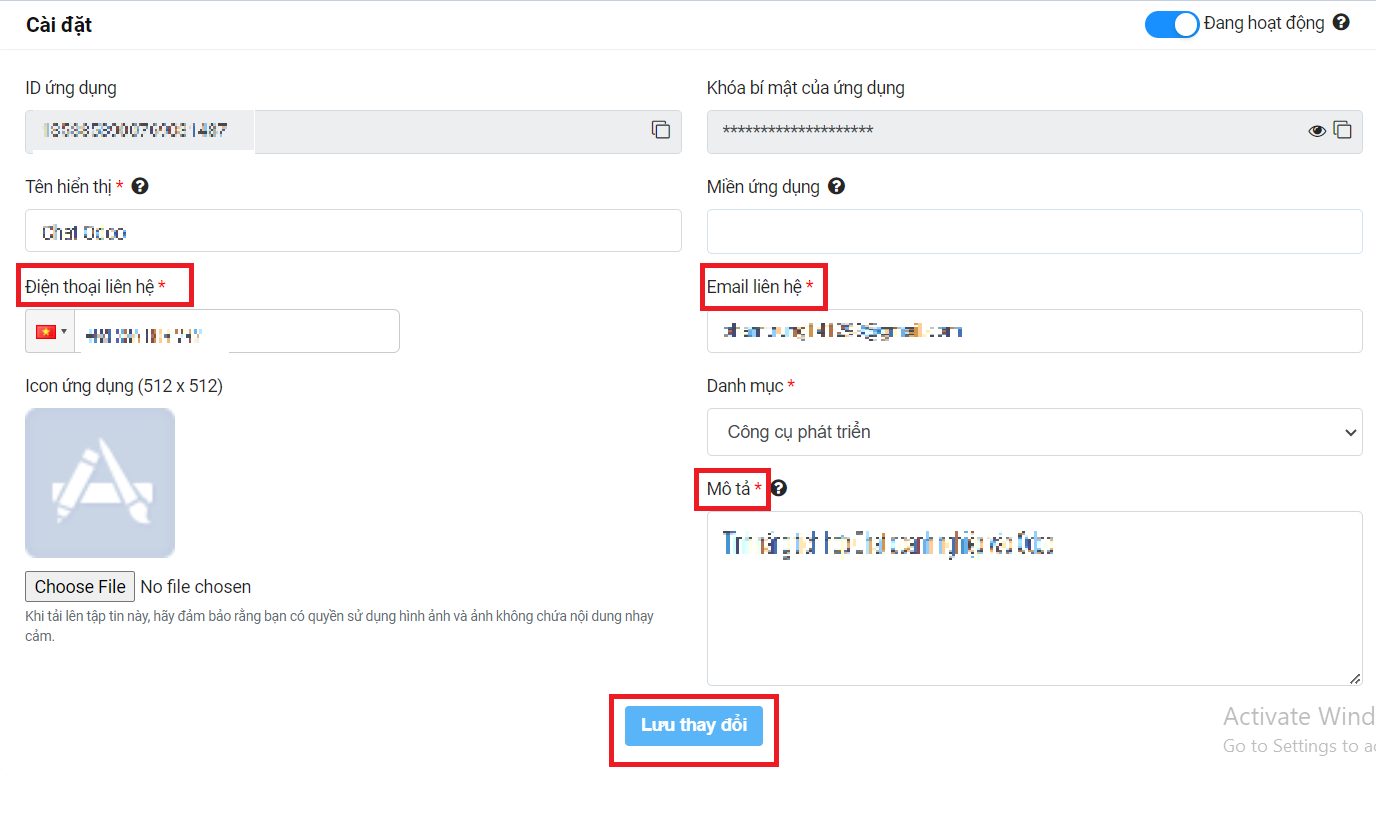
After creation, you will be directed to the application and any related information that has occurred. In the Settings section, you can update additional information such as phone number, email, and icon for the application.
After you finished creating an application, you have to verify domain of your website in the Verify Domain section
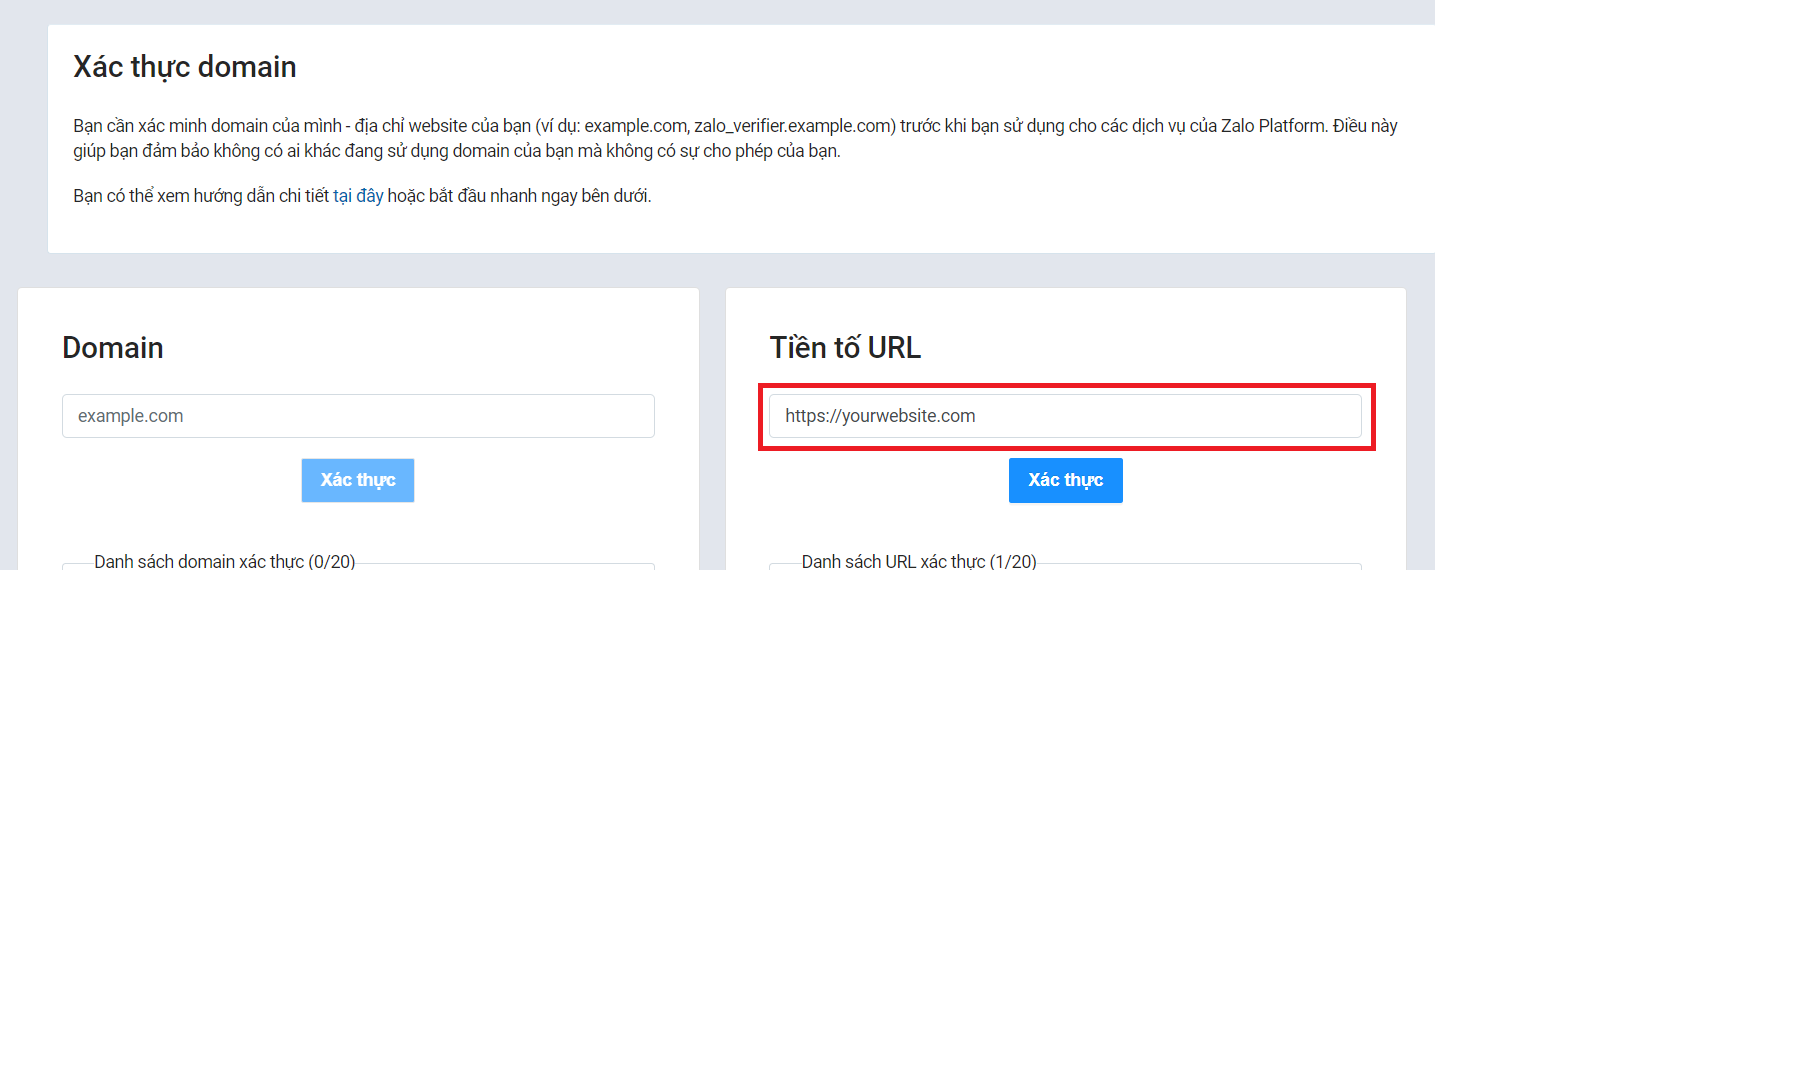
You can refer to the documentation here for further information: https://developers.zalo.me/faq#heading6270.
Note: Your website must using HTTPS to verify domain
After you successfully verified your website,you will see your website under list of verified domains
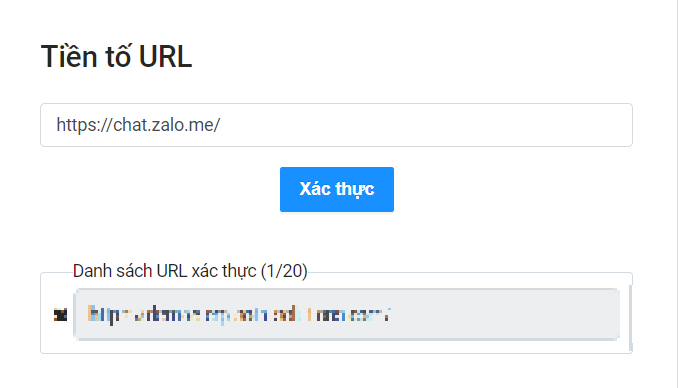
Zalo Application Setup
Login Setup
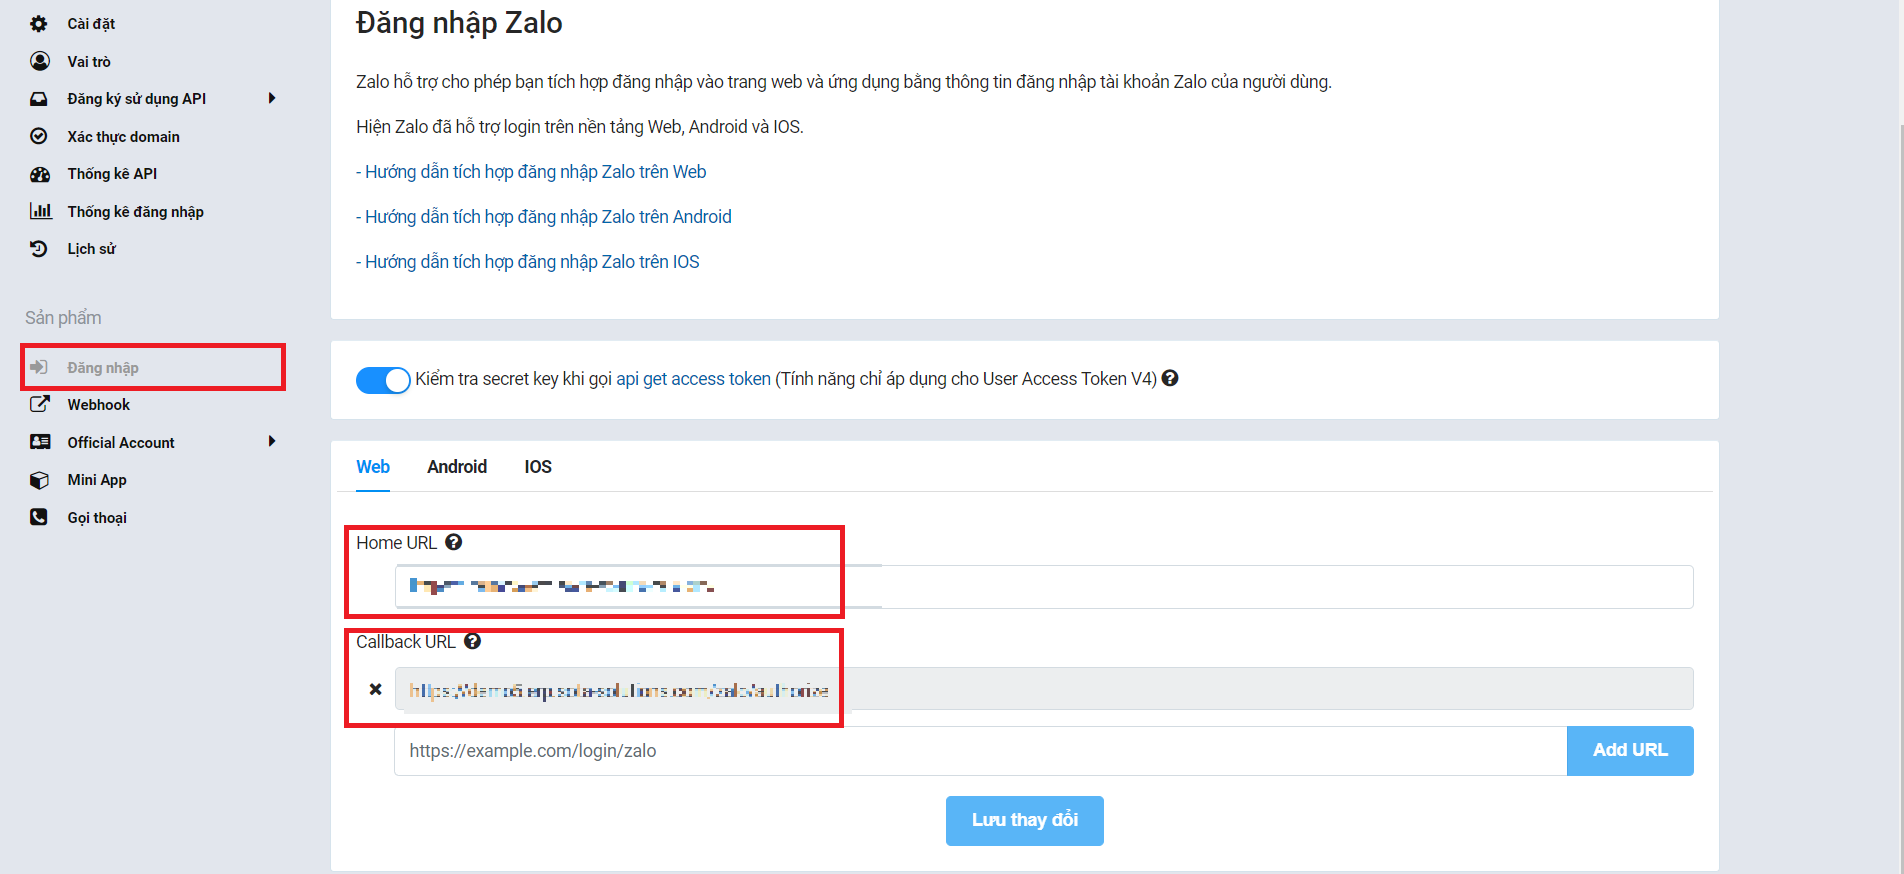
Navigate to the Login section and add information for the Home URL and Callback URL.
For the Home URL, use the link to the SotaERP website. For the Callback URL, use the link to the SotaERP website followed by ‘/zalo/authorize’.
Webhook Setup
In the next section, Webhook, update the Webhook URL.
Use the link to the SotaERP website followed by ‘/zalo/webhook’.
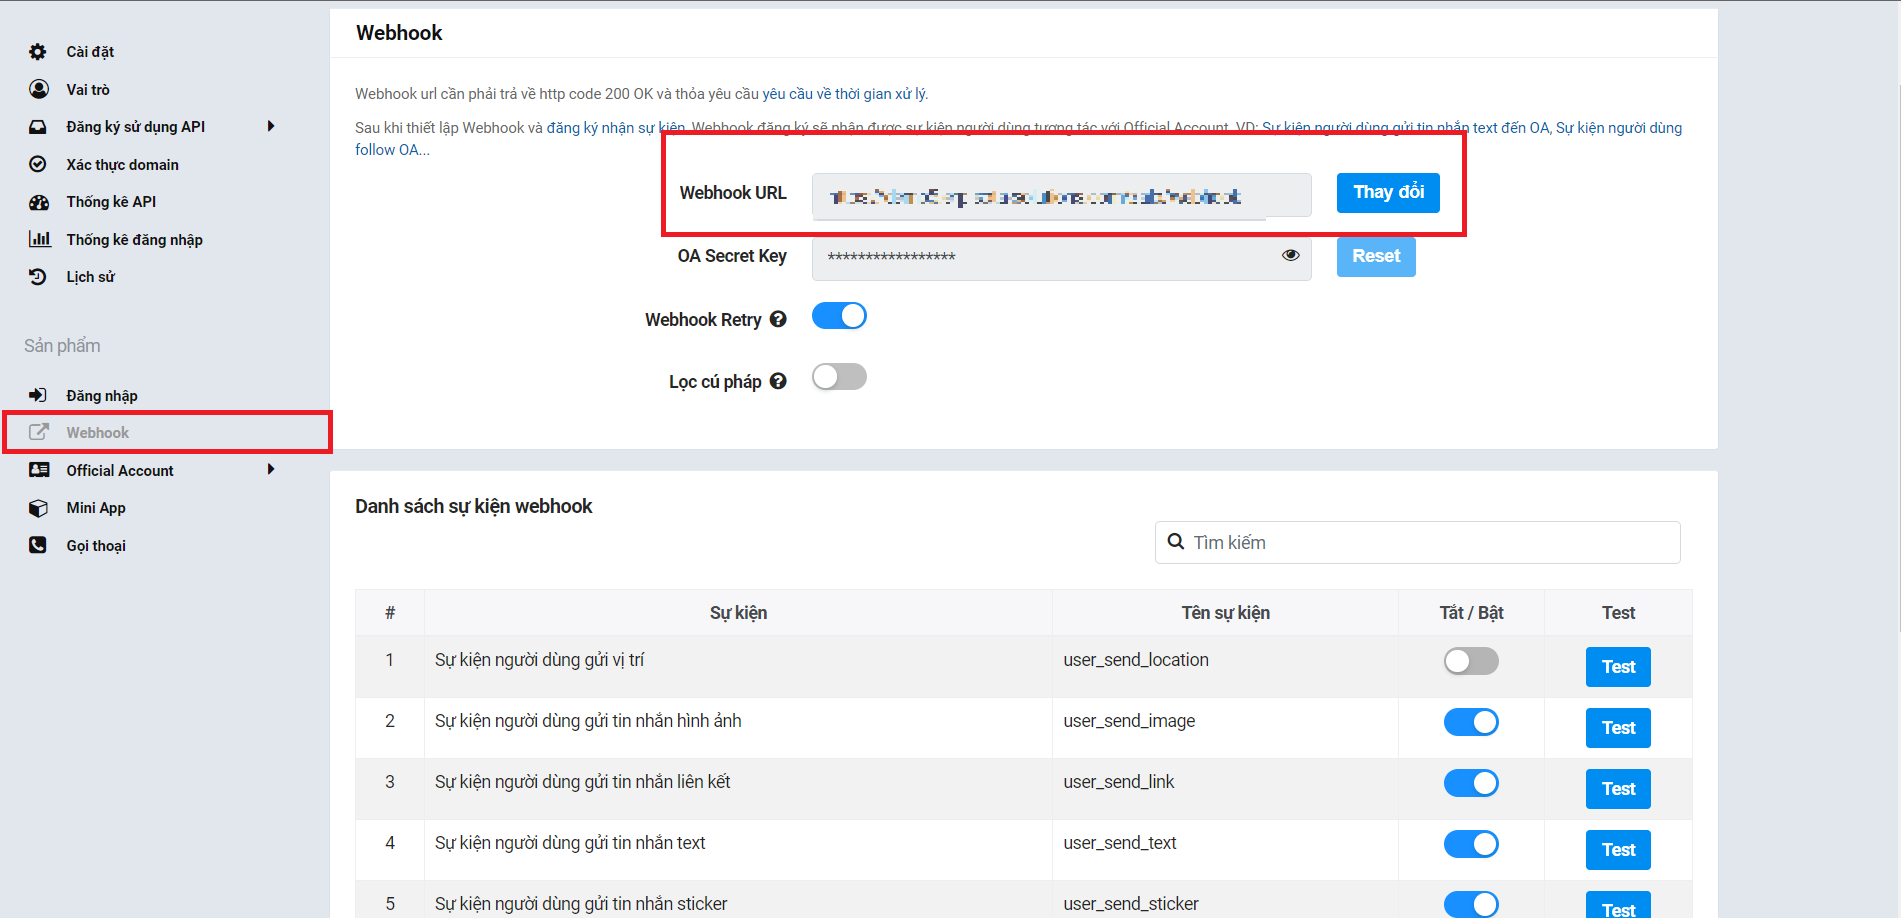
Inside the Webhook section, there is a list of webhook events.
You enable the following events: user_send_image, user_send_link, user_send_text, user_send_sticker, user_send_gif, user_received_message, user_seen_message, user_send_audio, user_send_video, user_send_file, follow, oa_send_text, oa_send_image, oa_send_gif, oa_send_file, oa_send_sticker.
Proceed to the Official Account > General Settings and update the Official Account Callback URL to the SotaERP website link + ‘/zalo/authorize’.

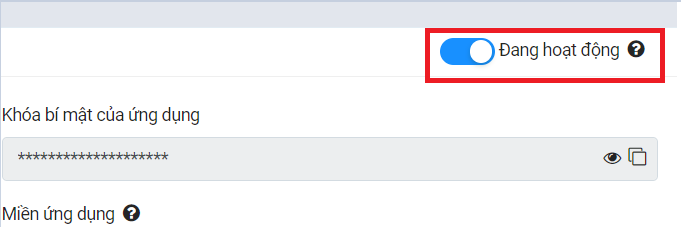
After that, return to the Settings section and activate the application. Once done, the setup is complete, and you can use it to configure the SotaERP system.
