Viettel S-invoice
Module Installation
Access the Apps, search for “VN E-invoice Viettel” in the search bar, and click Activate.

Integration Configuration
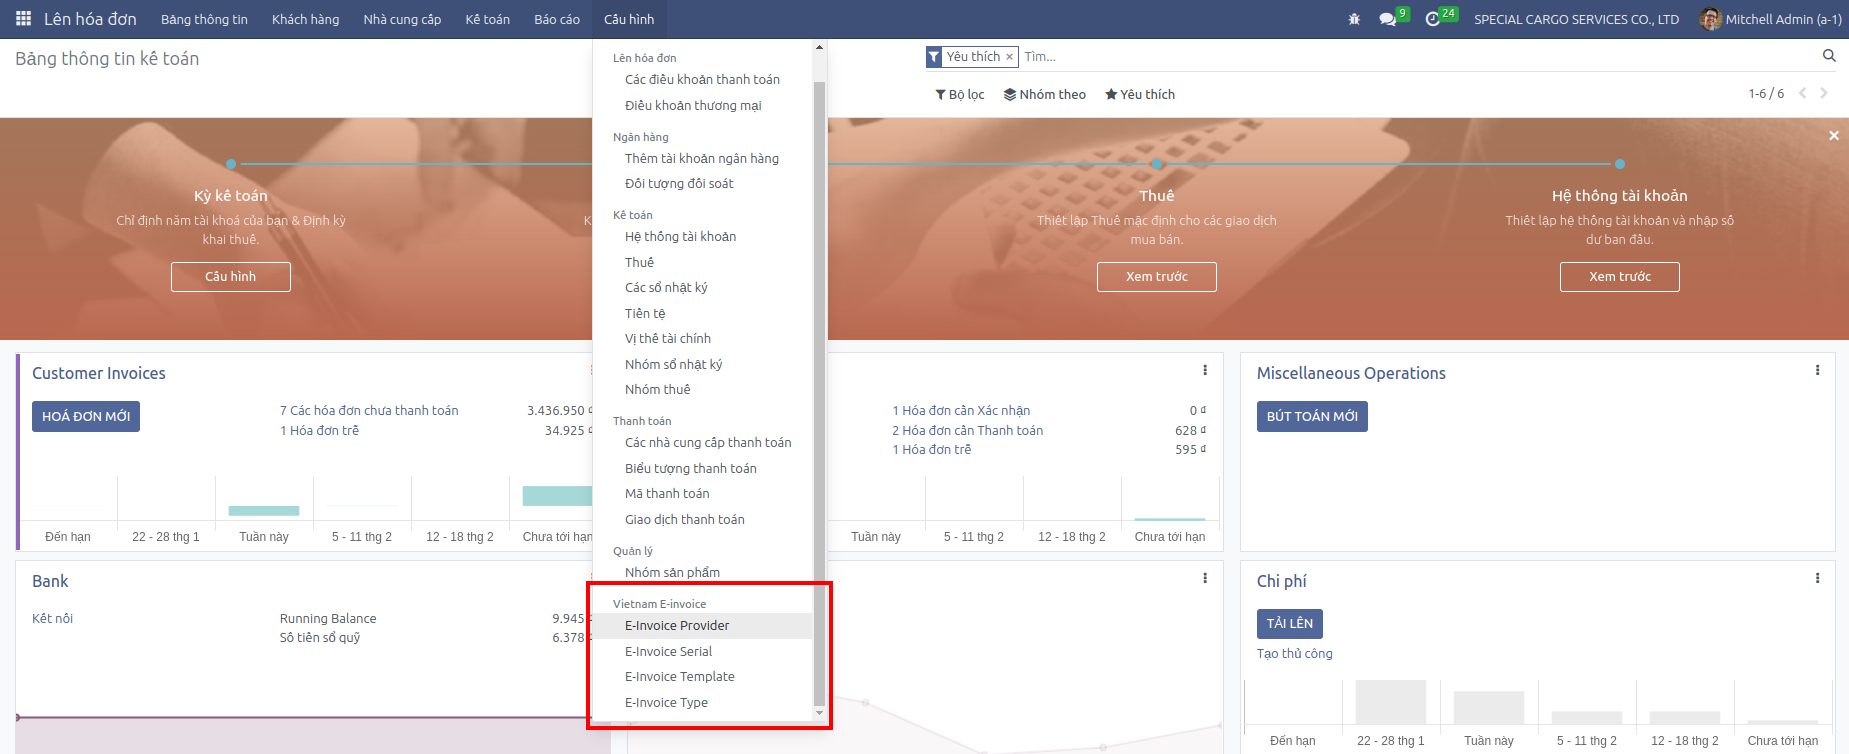
After installing the module, go to the Sales menu > Configuration > Vietnam E-invoice to proceed with the setup.
Step 1: E-invoice Service
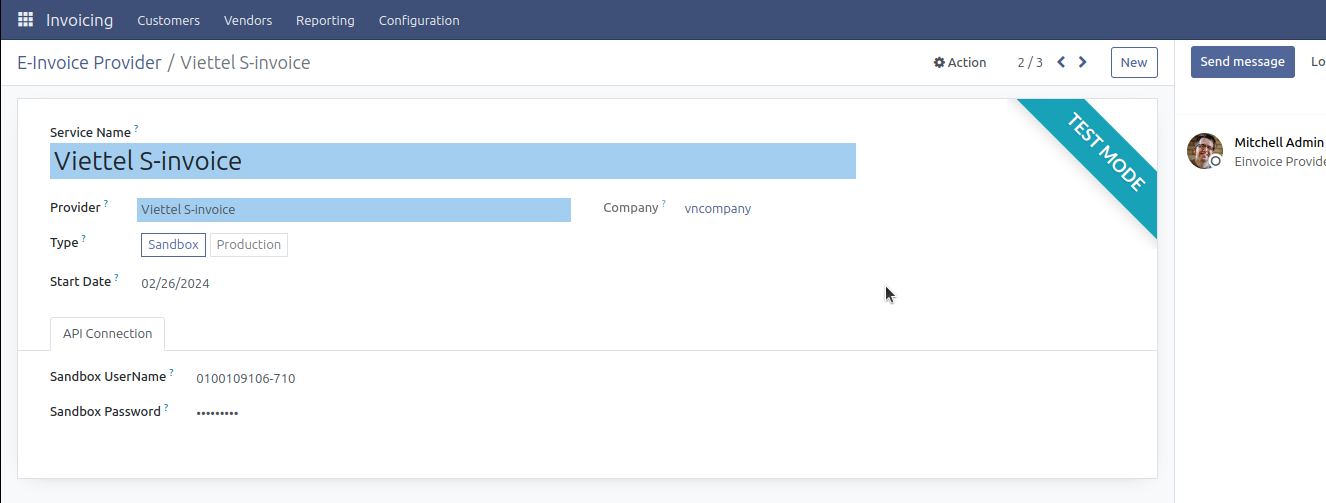
Here you will see a list of supported E-invoice services.

Click on the Viettel S-invoice provider to set up the connection, including Username and Password. These values will be provided when you register an account with the Viettel S-invoice service provider.
Step 2: Declaration of Serial/Template/Type of E-invoice
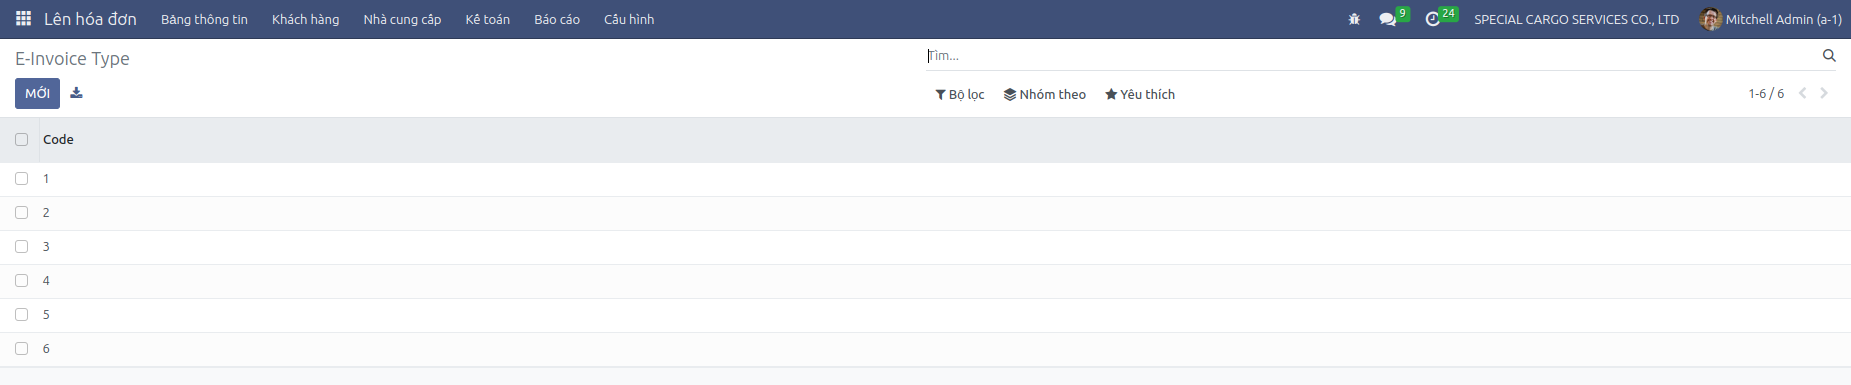
Declaration of E-invoice Type
The system has pre-created 5 types of invoices according to circular 78, which you can edit or create new if necessary.
Declaration of E-invoice Template
Create the E-invoice template that your business has registered, for example, in the image it will be 2/005 with Type 1 - VAT invoice.

Declaration of E-invoice Serial
Create the E-invoice serial that your business has registered, for example, in the image it will be K23TBS.

Step 3: Configuration on Customer Invoice Journal
After completing Step 2, go to the Sales menu > Configuration > Journals, select Customer Invoice.
Under the Vietnam E-invoice Configuration tab, please select the E-invoice Serial created in Step 2.

*Note: each journal can only configure one E-invoice Serial from one provider at the same time.
Issuing E-invoice
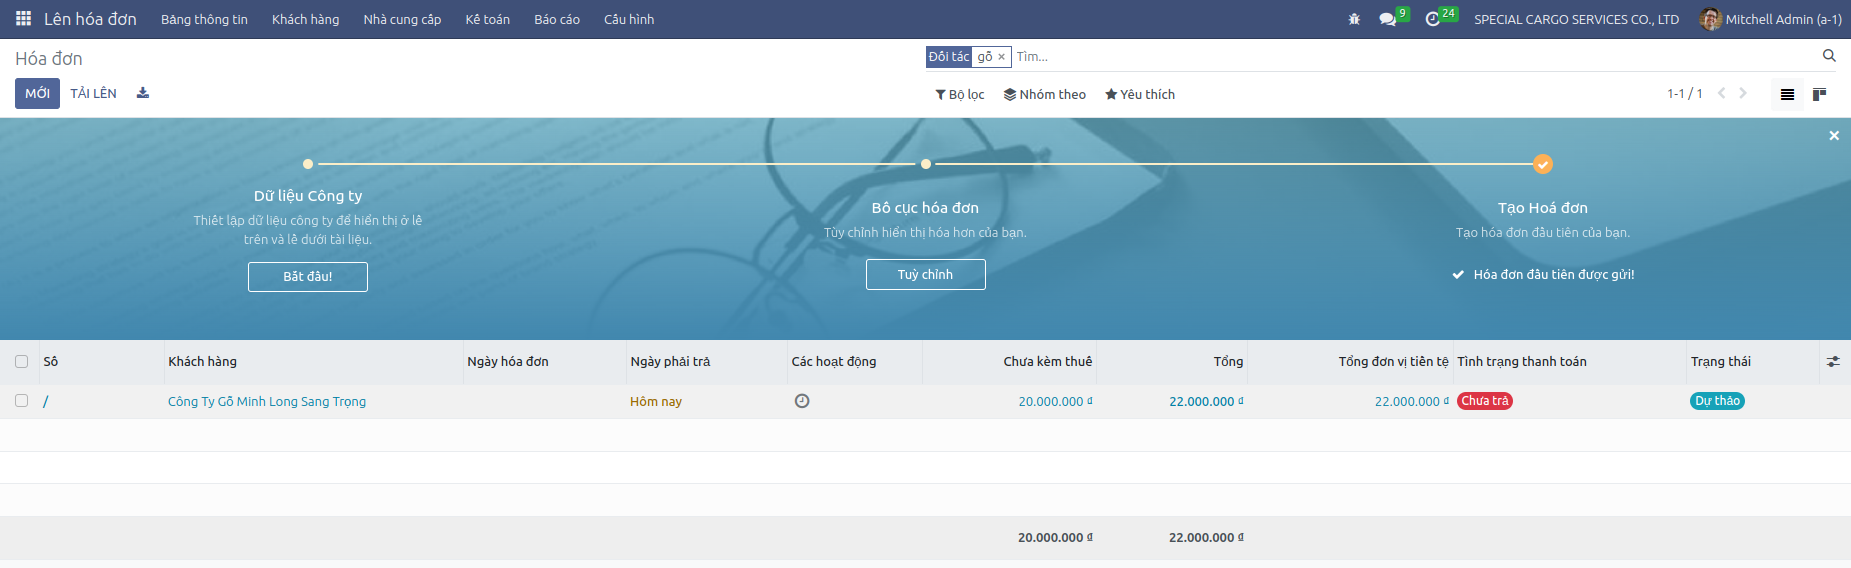
Access: Sales > Customers > Invoices, in the list of invoices, select the invoice to issue an E-invoice.
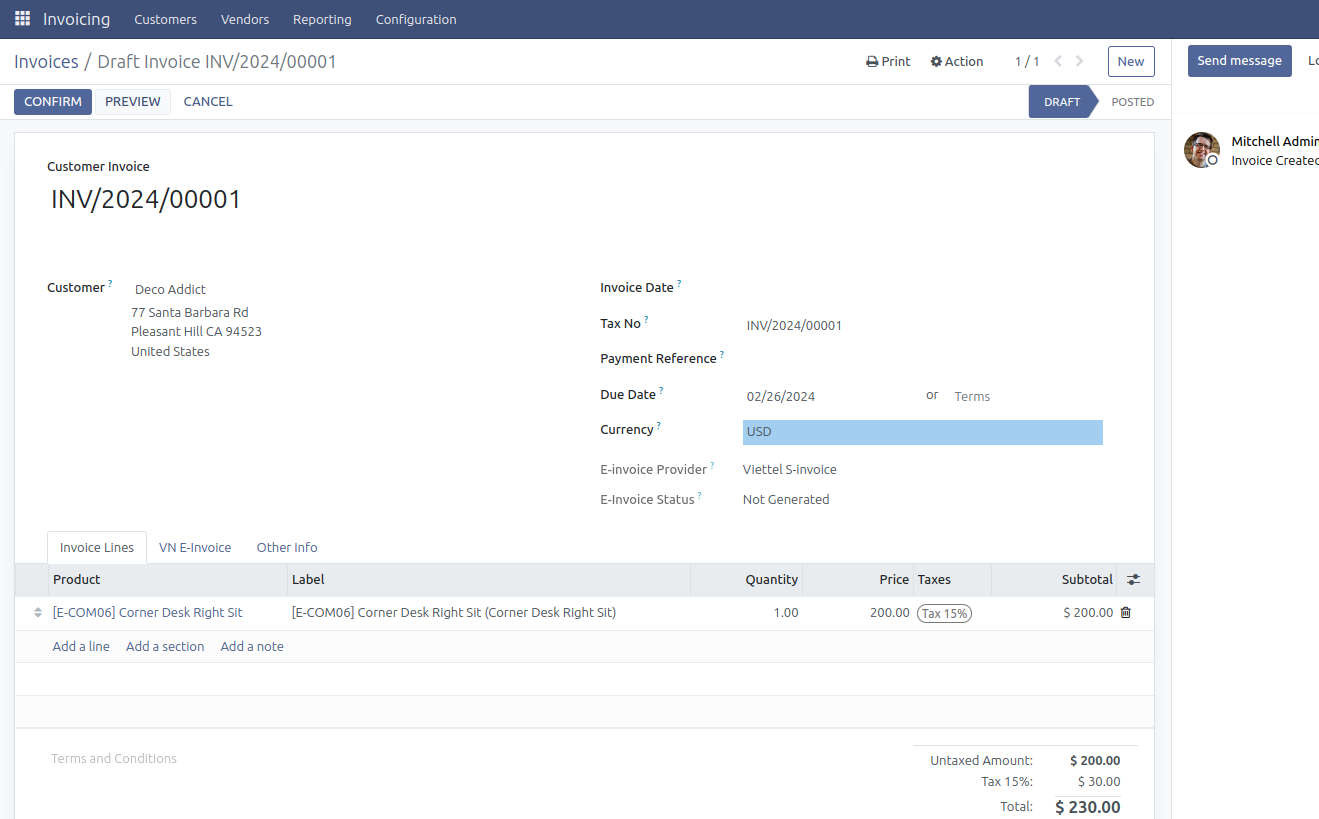
Step 1: Confirm Draft Invoice
Check customer invoice information: tax code, address, email for receiving invoices… and click Confirm.
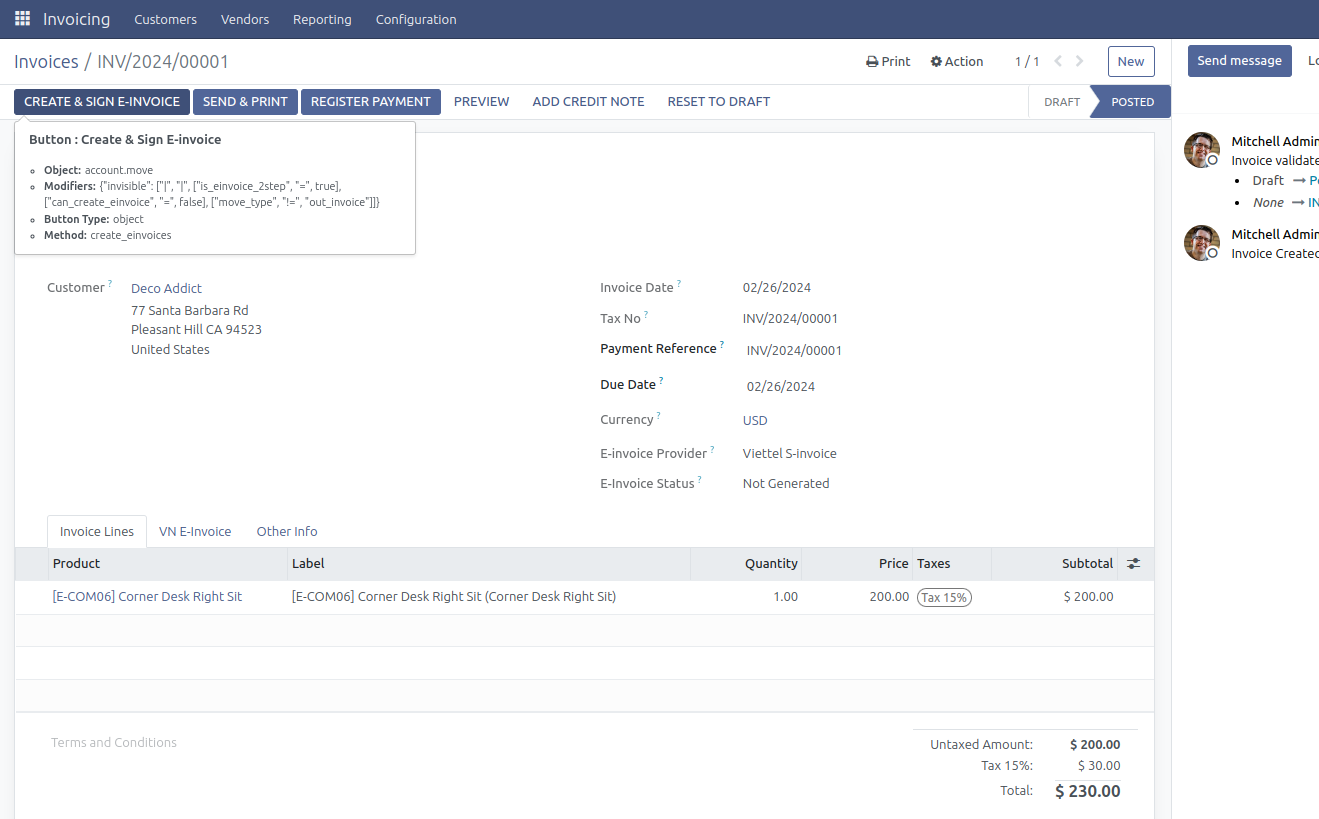
Step 2: Create and Sign E-invoice
On the invoice interface Posted, with the E-invoice status Not issued, click Create / Sign E-invoice:
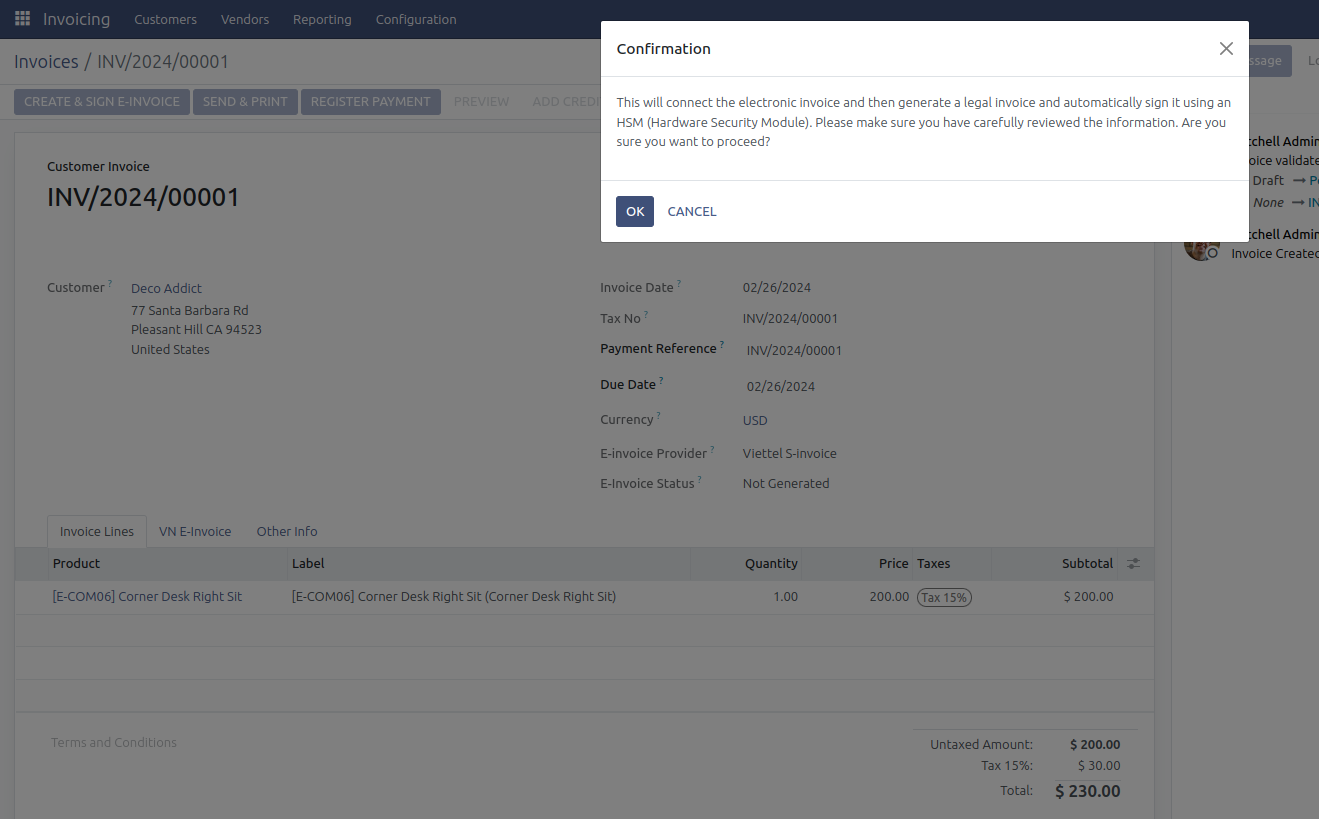
A warning popup to avoid accidental clicks, click Agree to proceed with creating and signing the E-invoice.
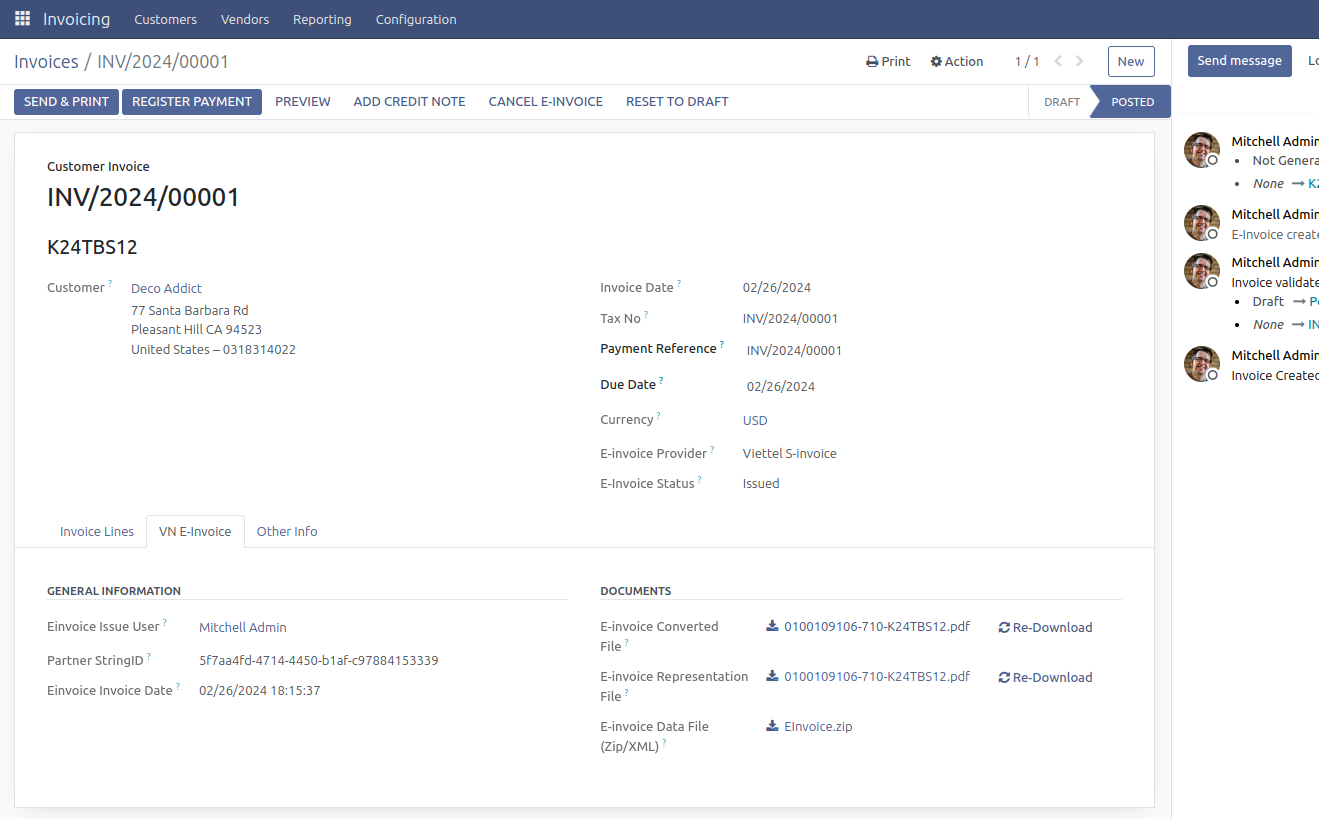
Step 3: Download E-invoice
Open the VN E-invoice tab to Download the converted E-invoice or Download the original E-invoice:
This action helps you save and view the invoice directly on the system.
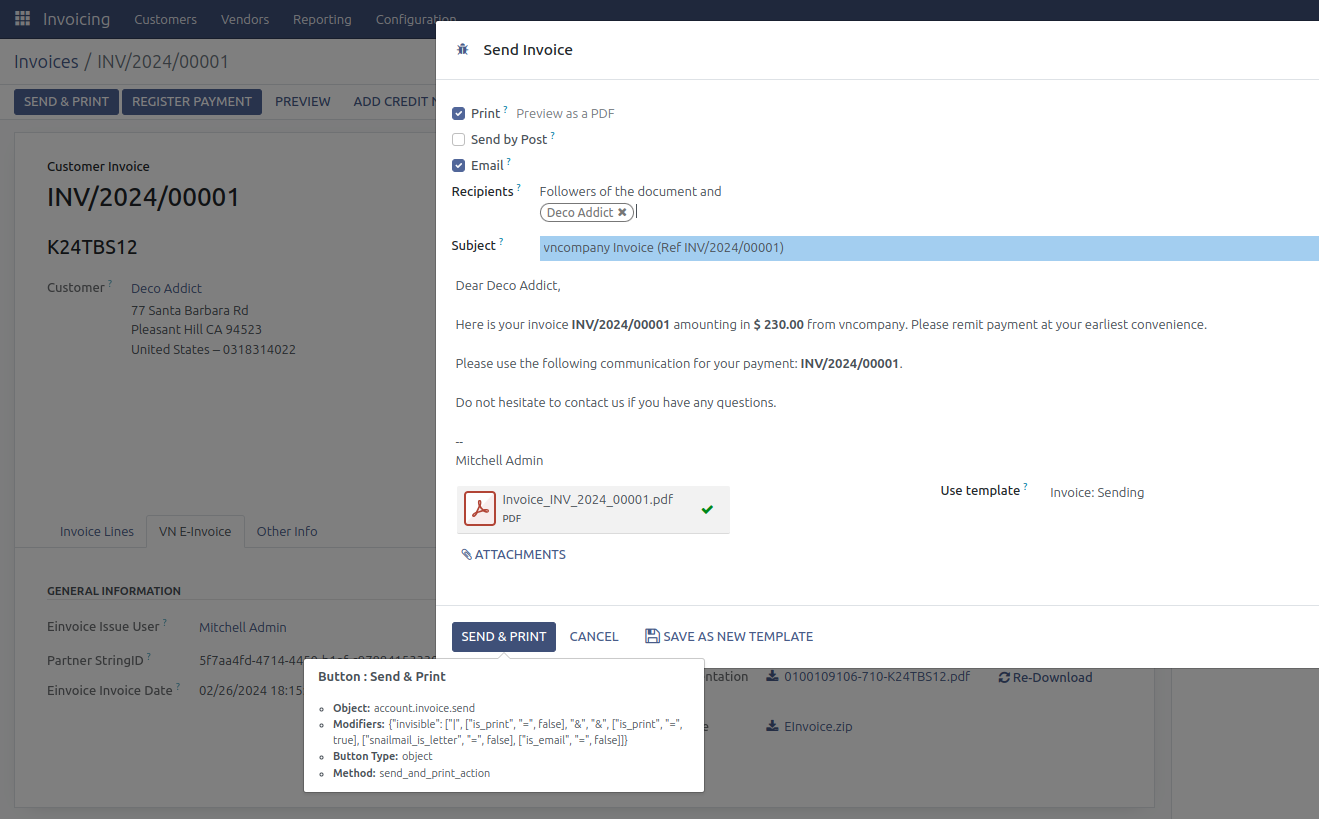
Step 4: Send the Invoice to the Customer
Click Print & Send to send the invoice to the customer:
Immediately after clicking Print & Send, a pre-created email appears showing invoice number, value, and attached PDF invoice file. You can use the default email template or edit the email content to suit and click Print & Send to send the invoice issuance notification to the customer.
Adjusting Reduced E-invoice
On the issued E-invoice interface, create an internal reduction invoice.
Click Add credit note, select partial or full refund, then click Reverse.
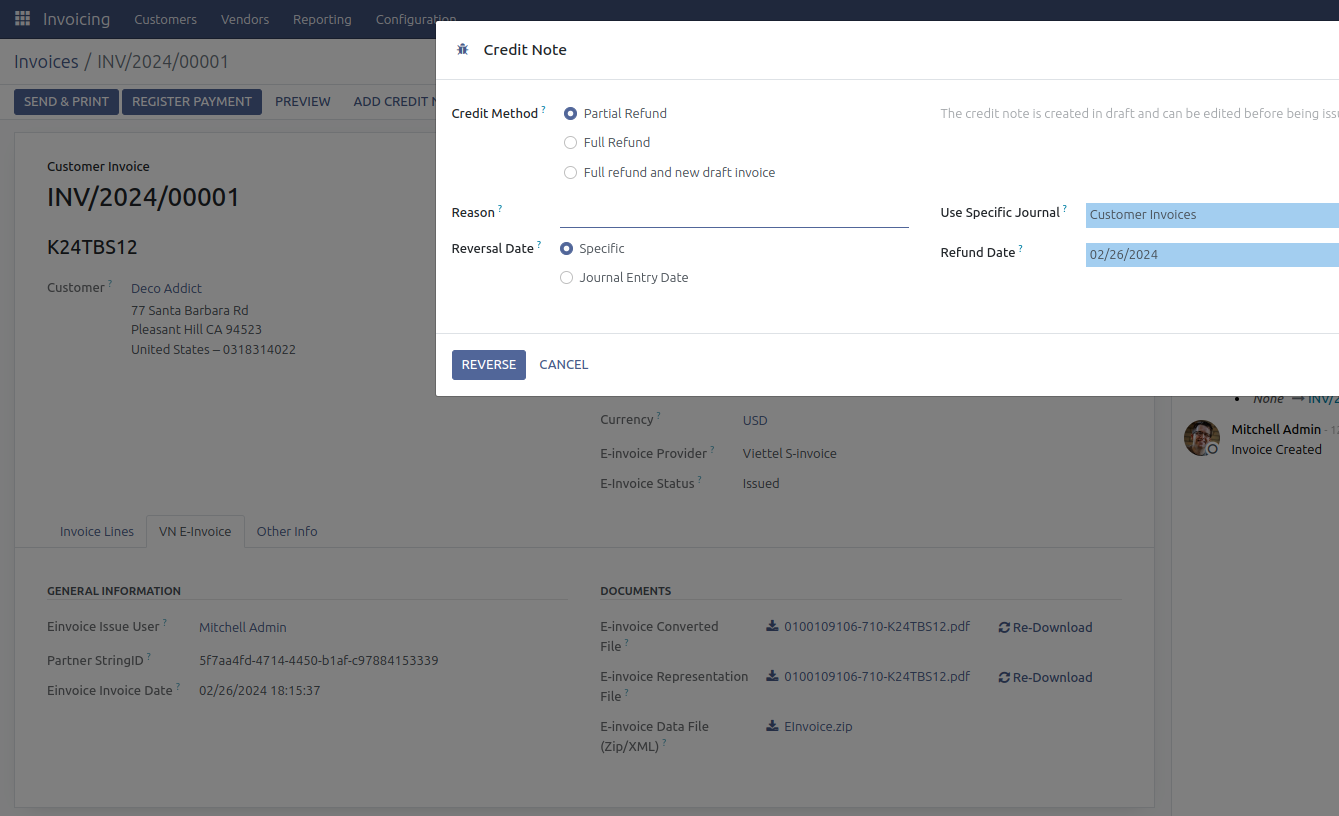
Continue with the same steps as Issuing E-invoice to issue the reduced adjustment E-invoice.
Canceling Issued E-invoice
In case of an issued E-invoice and detecting errors that need to be canceled, follow the correct sequence as follows:
Step 1: Cancel the Issued E-invoice
On the issued E-invoice interface, click Cancel E-invoice.
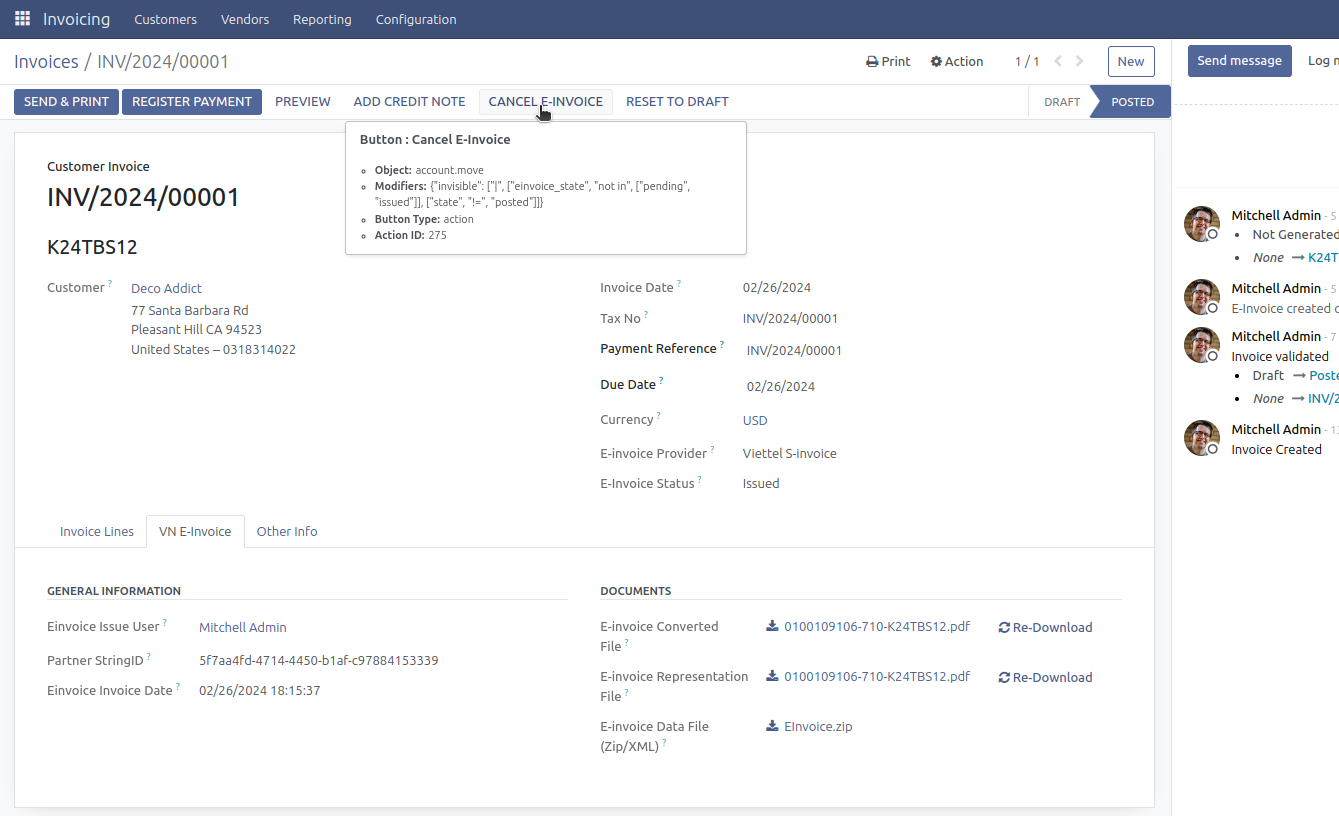
Enter the cancellation reason and attach a protocol to cancel the invoice.
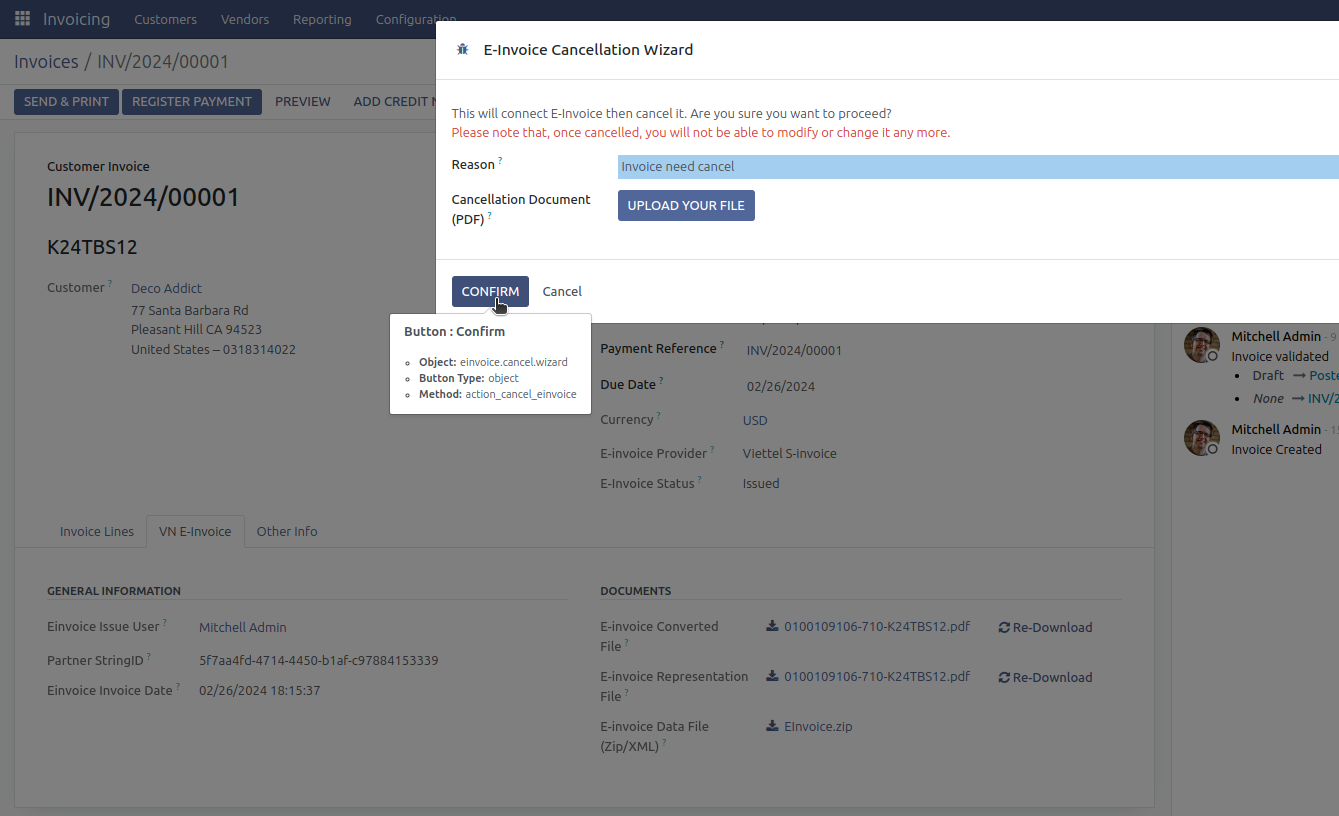
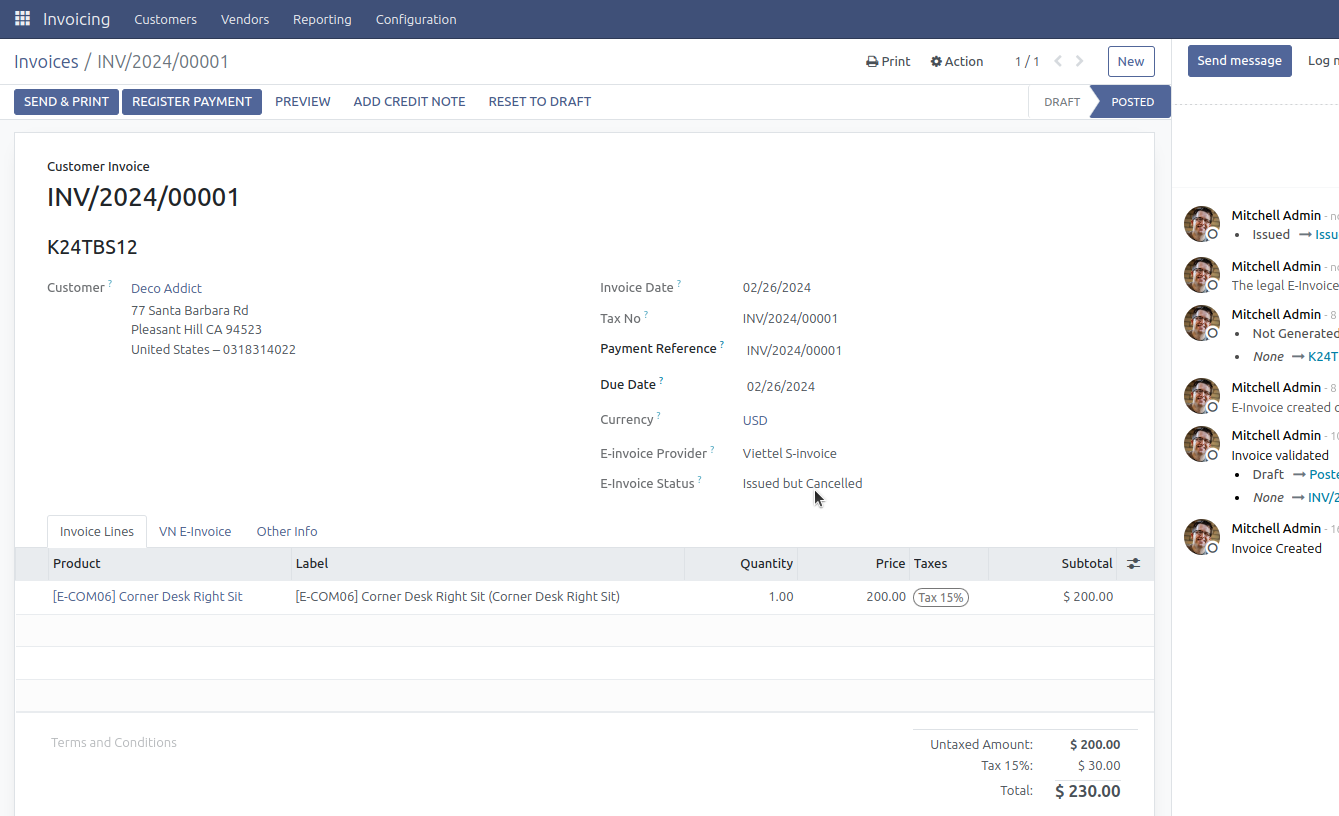
Click Confirm, the E-invoice status is updated to Issued and Canceled, the internal system invoice status remains Posted.
The system will automatically generate error notification 04SS to send to the Tax Authority.
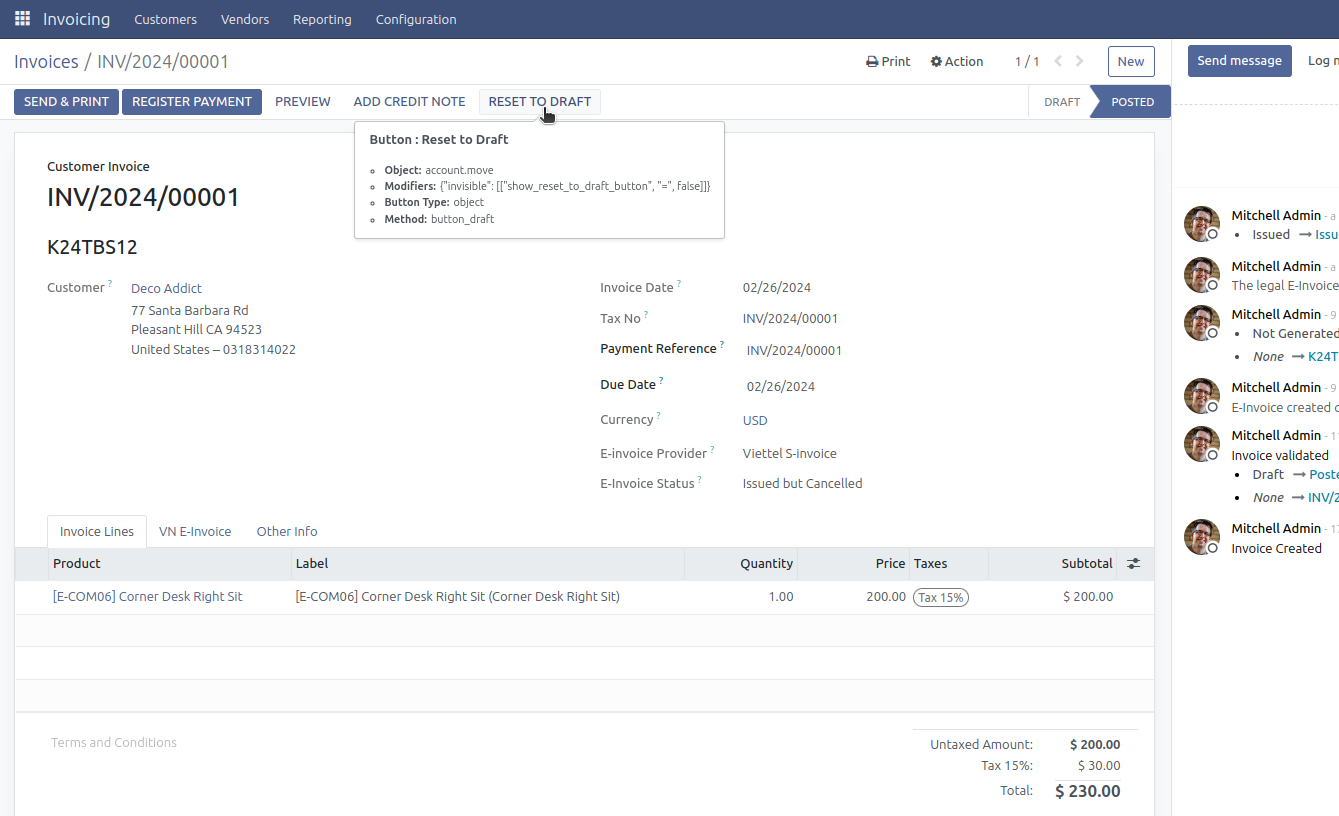
Step 2: Cancel the invoice on the internal system
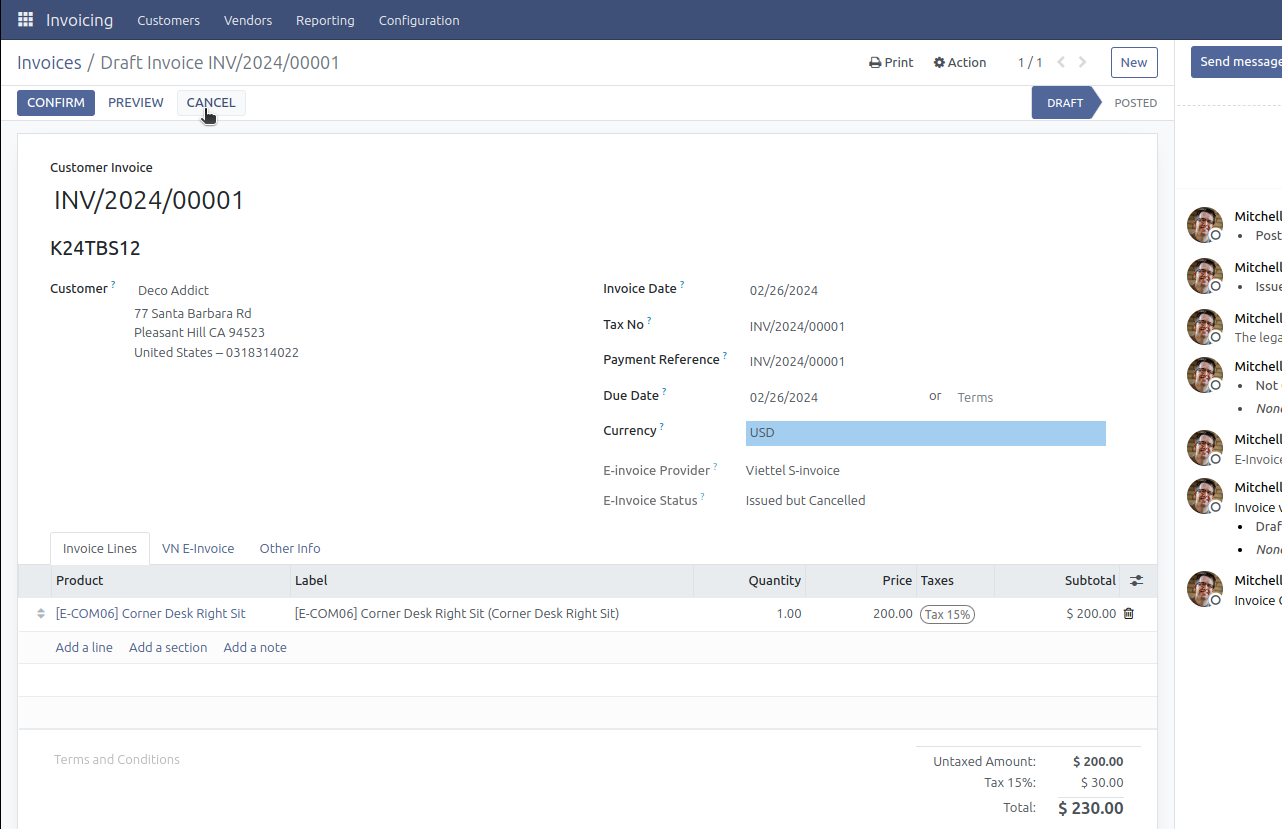
Only after completing step 1 of cancelling E-invoice, you can continue by clicking Set to draft.
Continue clicking Cancel to complete cancelling the invoice.
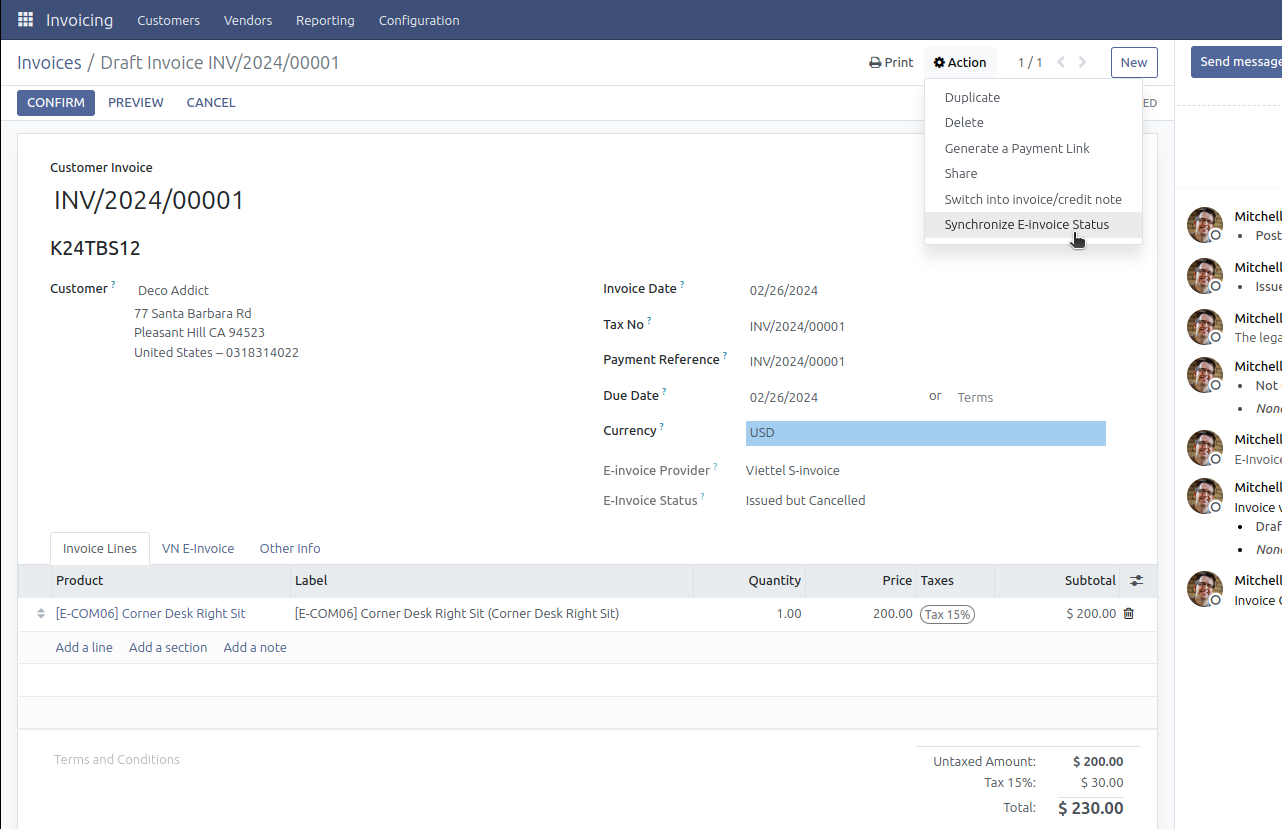
Synchronize E-invoice Status
When the E-invoice status is inconsistent with the provider, you can synchronize it through Actions -> Synchronize E-invoice Status.